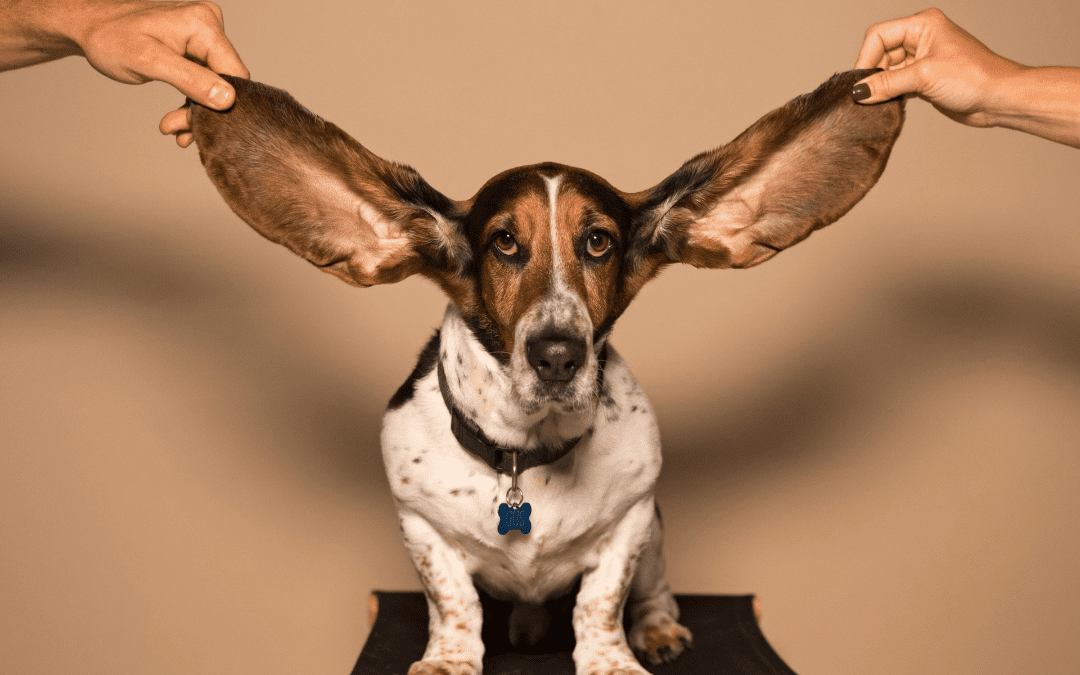
At one point or another, your pet will need to have their furry little ears cleaned. Depending on their breed, time spent outdoors, or if they have any possible allergies, the frequency of ear cleanings can vary. If you find yourself needing to clean your pet’s ears yourself, here are some simple steps to follow to give them the proper care.
Step 1: Prepare all the necessary pet cleaning equipment and tools
The need for specialized equipment such as a medicated ear cleaner will vary from pet to pet. Unless specifically required, a standard ear cleaner will do just fine. You will also want to have some cotton balls, gauze, or cotton rounds handy to make it easier to remove debris in their ears.
Step 2: Make sure your pet is in a comfortable location before starting
We highly recommend keeping your pet in an area they feel most comfortable around the house. This will help put them at ease during the process. If your pet is particularly squirrely or jumpy, you might want to have a family member help keep them still or hold them. The last thing you want to do is hurt their ears in the middle of cleaning because your pet made a sudden move.
Step 3: Get your pet accustomed to the ear cleaner solution
If this is your pet’s first time getting their ears cleaned at home, we recommend slowly introducing them to the ear cleaner solution so they can get used to the feeling. Start by applying a small amount of the solution using cotton balls and thoroughly wiping it around the inner flap of their ears. As you and your pet get more comfortable, you can drip the clearer directly into the ear canal.
Step 4: Thoroughly work the ear cleaner into your pet’s ears
Once you have successfully applied the cleaning solution, you must carefully massage the base of the ear. This will safely break up any debris within the ear canal. This will also cause your pet to shake their head and send some of that debris and fluid flying out.
Step 5: Wipe out the cleaner and remove the debris
After working the cleaning solution into your pet’s ear and breaking up any visible debris, you can now begin to wipe off the remaining fluid using your preferred material; gauze or dry cotton balls. We recommend cleaning only the parts of the ear that you can see. Do not stick anything into the ear canal, as you may inadvertently cause a blockage or injure the ear drum.
Step 6: Reward your pet!
Now that your pet is all squeaky clean, you can reward them with their favorite treats! If they happened to have been difficult throughout the process, rewarding them at the end can help tame their behavior the next time you clean their ears.
If you notice that there’s something irregular about your pet’s ears during the cleaning, schedule an exam with your vet.

